Hello everyone! It's Andrea here, and today I am so excited to share with you some exciting news! Here at The Fairytale Club, we have been planning lots of fun new things. We want to bring to you a new line of goodies to fill your life with whimsy and magic. So in addition to our papercrafting product line - with all the lovely collections designed and created for you by Ryan and myself - we are now also debuting a brand new lifestyle line which will consist of clothing, accessories, and home decor! This new line is called, as you may have already guessed, "T.F.C. Clubhouse". And to start things off with our new Clubhouse, we have our brand new and amazingly spooktacular "Tomb Sweet Tomb" purse (aka Zero House purse).


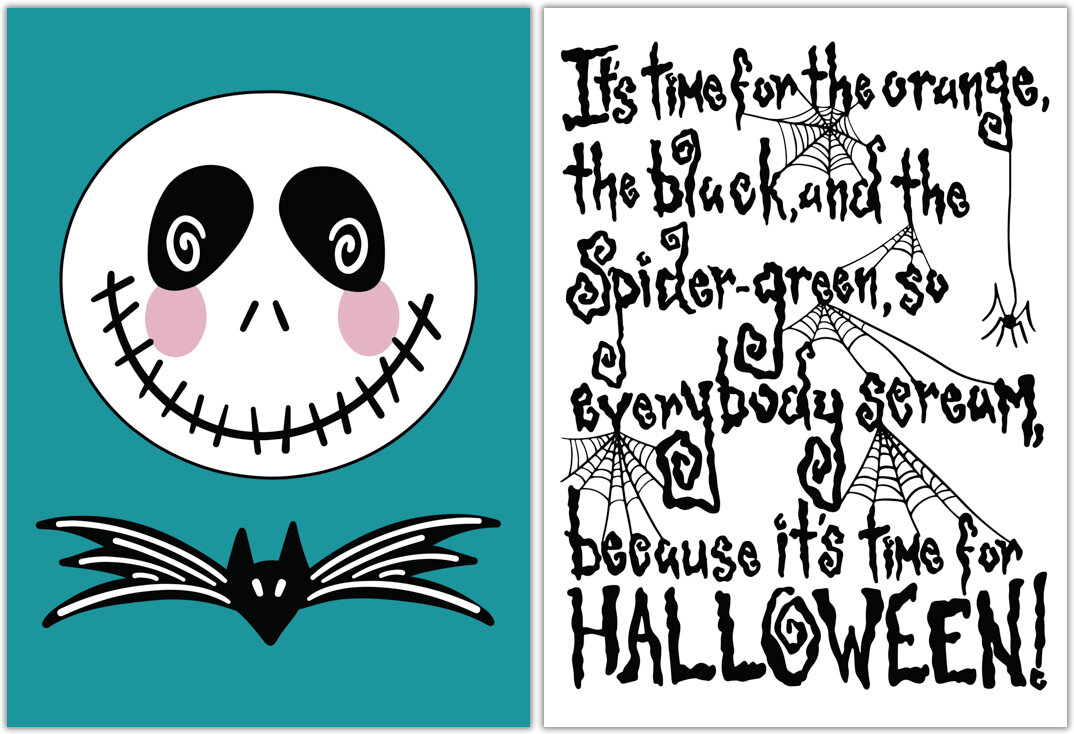
This purse is inspired by my own vintage purse which is from the 1950's and shaped like an adorable little house. It is made of wood and looks almost like a small dollhouse...but no...its a purse!!! 😀 This has been my favorite purse ever since I found it years ago in a tiny hole-in-the-wall antique shop in Hemet. I have worn this purse so many places, including Dapper Day at Disneyland...and every time I do I get compliments and people ask where i got it. But unfortunately cute little houses and other wooden purses like them are very hard to find now...it's a real find to even happen upon one in an antique or vintage shop nowadays! But now you can have your own! And to put our Fairytale spin on things... we have made our purse themed to tell a wonderful and beloved spooky fairytale story!
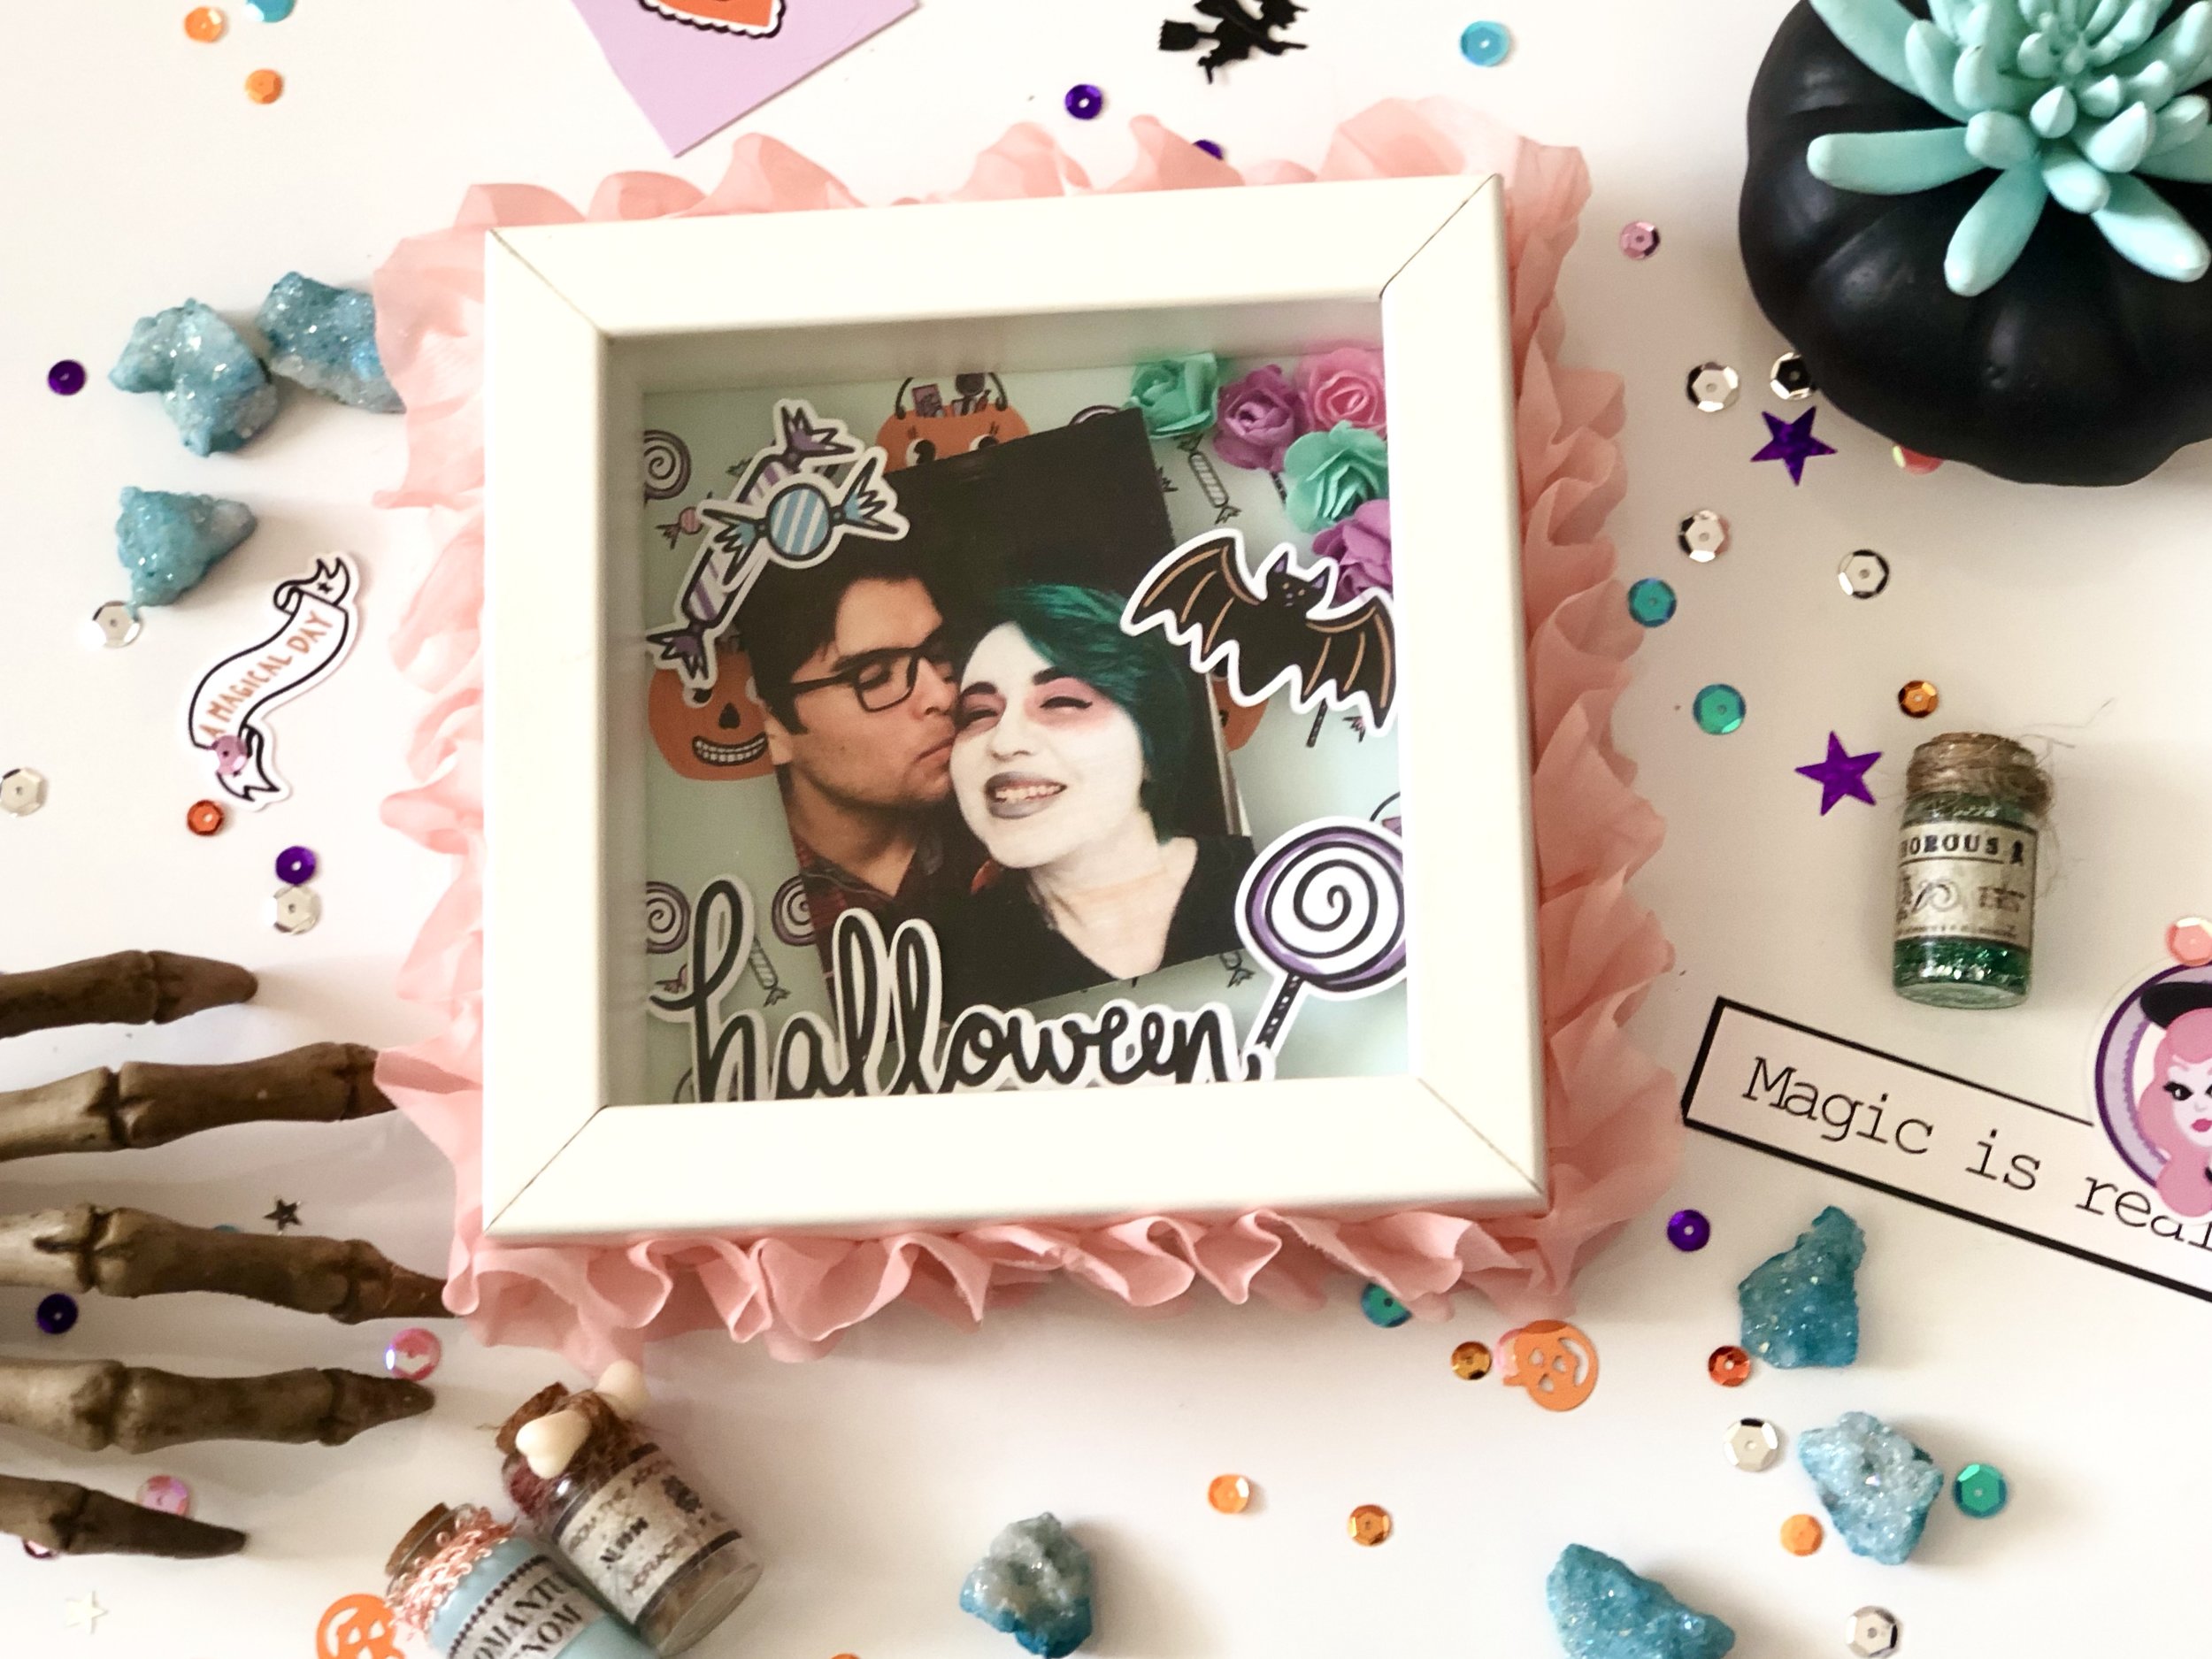
But this is just the first purse! There will be other fairytale/fandom inspired purses to come! We will be doing a whole line of vintage inspired, fairytale themed purses such as this one, in the upcoming months and we are so thrilled for you to see them all! Yaaaaay! And right now, in a limited quantity due to the time it takes to handmake each one, we have this "Tomb Sweet Tomb" purse available for order to use and enjoy this Halloween season!!! I hope you love it as much as I do! Halloween is my fave, and so is vintage, and so is Disney...it is the perfect combo of all my favorite things! Make sure you get yours today, because it is an exclusive, handmade, limited quantity item. And make sure to post pics of you with your new purse...whether you use it as a purse, or home decor, or an adorable container for this year's Halloween supplies...whatever you use it for, I think you are absolutely going to go nuts over this special beauty! Make sure to take pics! And Happy Halloween!!!